In the last example we created a template and then used it to create four pages for a final project. The pages included a home page, a form, a video from Youtube, and a google map. The instructions on how to do this are located here.
Let's look at the list of items for the final project and see what else we need.
I will do an example of one of each item that is required.
I'm going to start out with the project that we did last time. You don't have to do this, but I'm going to make a copy of last week's project "week 12" and I'm going to call it "week 13".
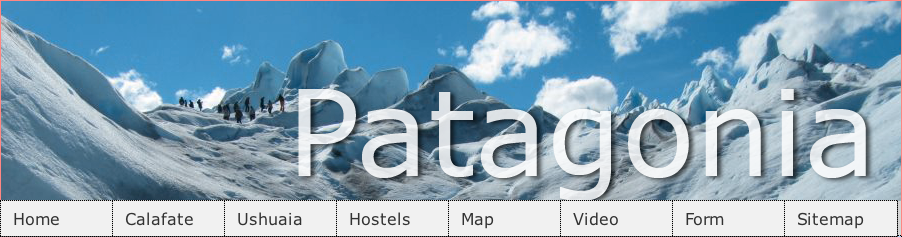
Here's the basic template we created
Let's go down the list and see how we are doing in completing all the items required for the final project.
OK, we're in pretty good shape.
First I'm going to add the two links to the footer in my template.
Then I'm going to create my new pages. I'm going to make simple pages for each of them. I'm going to set titles on each of these pages, and make sure that titles are set on the other pages. Then I'm going to fix the menu to reflect the new pages.
Next I'm going to fix my form to have a table layout.
Next I'm going to make a nice site map. This will also have a table layout.
Finally, I'm going to create a folder for my images, and move them there.
Then I will upload the site, and clean up stray orphaned graphics from the site.
Finally, I will test, and then go over my list and make sure I'm really done.
Oh, in your project, don't forget to add one self-taught item. I think I might make some nice rollover buttons, but you can do anything you like. I'm also going to create a "favicon".
I'm going to add these links to the footer in the template.
This site by Jim Pickrell as a demonstration in CAOT 112 at Los Angeles City College. Send me Email.
The html looks like this:
This site by Jim Pickrell as a demonstration in CAOT 112 at
<a href="http://www.lacitycollege.edy">Los Angeles City College</a>.
Send me <a href="mailto:jimp@brandx.net">Email.</a>
You can create these links by editing the html, by hilighting the text and then typing the link in the properties window, or you can use the Dreamweaver insert commands Insert -> Hyperlink or Insert -> mail link.
Ok, that's done. When we save the template, it will update all the pages.
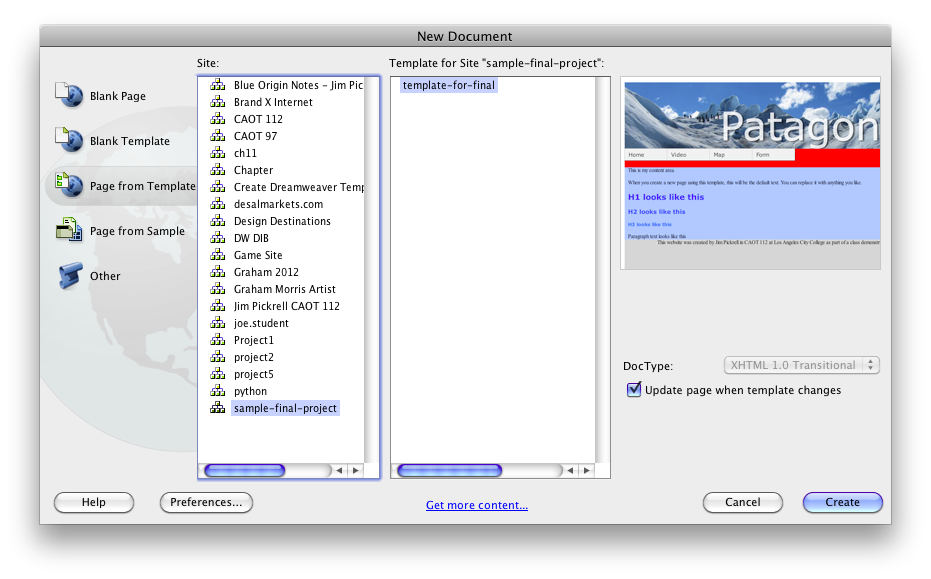
I already have a template, called template-for-final.dwt. It is in the templates folder. To create a new page, select from the menu New-> File -> Page from Template.
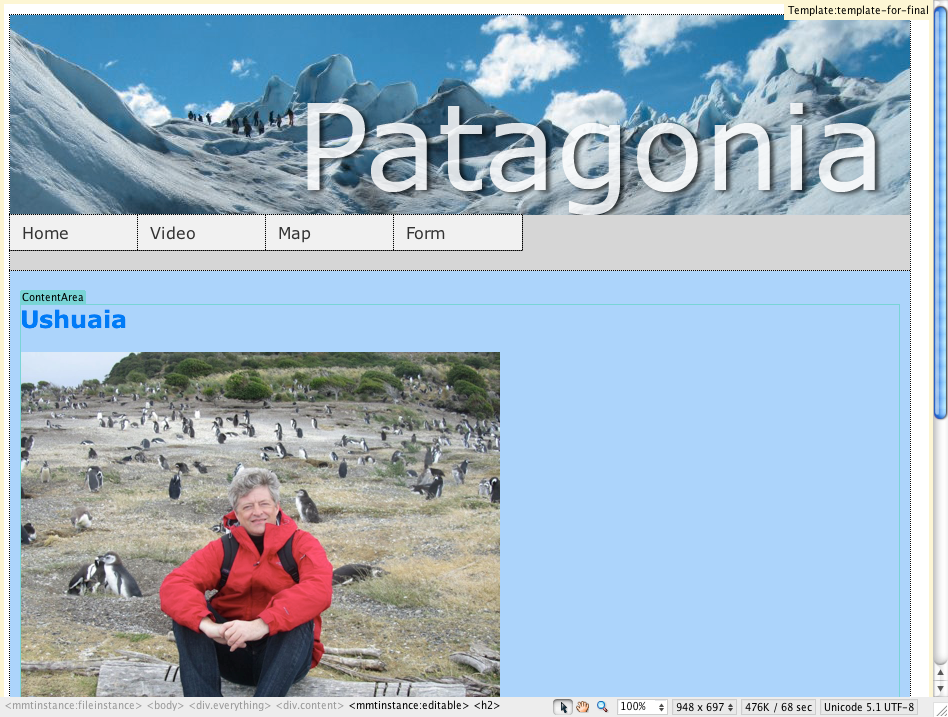
I create each page by going to File -> New -> Page and then chosing the template above. I save the files with the names ushuaia.html, calafate.html, hostels.html and sitemap.html.
After I create each of the pages, I will make some quick changes so I can see which page is which. I will put a header at the top of the page with the name of the page. I will insert a picture if I have one. And I will change the title of the page.
Now each of my new pages looks something like this:
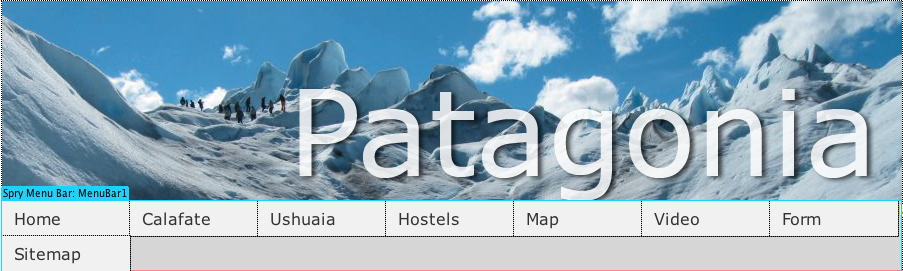
I will also need to adjust my menu to have four more choices (total of 8). The menu is a list in the template file which was called "template-for-final.dwt".
Here's what the menu code looks like:
<ul id="MenuBar1" class="MenuBarHorizontal">
<li><a href="home.html">Home</a></li>
<li><a href="video.html">Video</a></li>
<li><a href="map.html">Map</a></li>
<li><a href="form.html">Form</a></li>
</ul>
I just need to add four more items to the list and then make sure that the menu fits. If it's too big I will go into the css stylesheet and adjust the width of the menu list items.
<ul id="MenuBar1" class="MenuBarHorizontal">
<li><a href="home.html">Home</a></li>
<li><a href="calafate.html">Calafate</a></li>
<li><a href="ushuaia.html">Ushuaia</a></li>
<li><a href="hostels.html">Hostels</a></li>
<li><a href="map.html">Map</a></li>
<li><a href="video.html">Video</a></li>
<li><a href="form.html">Form</a></li>
<li><a href="sitemap.html">Sitemap</a></li>
</ul>
The result looks like this:
Our menu items are too wide. I'm going to adjust this by fixing one of the rules in the CSS file.
Click on "css styles" in the panel on the right side, and then look for the li rule. That means, the rule that applies to list items. It has the "width" set to "8 em". This means the with is 8 times the average height of a capital letter (8 em). You can set this width in em's, in pixels, or in percent of page width.
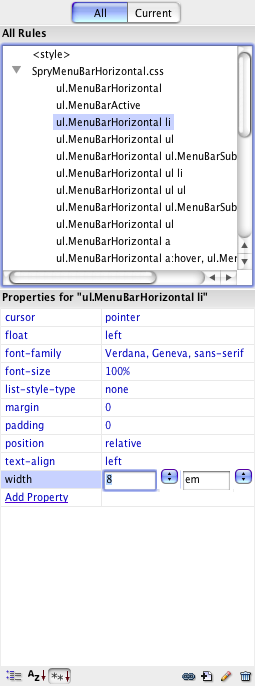
I have hilighted the rule so you can see the value.
I will change this to 7 em and this should nearly fix things. Here's what that looks like:
If you really wanted this to be perfect, you would need to do some math to figure the right size exactly. For example, if your page is 900 pixels wide, then 9 menu items 100 pixels wide will add up correctly. We are trying to divide a 900 pixel screen into 8 menu items and it doesn't come out to an even number. I think it's good enough for now.
Last time we created a form that doesn't do anything. It just has a couple of sample fields and a button, but when you click the button, your information doesn't go anywhere.
Let's fix that.
The instructions for how to make a form work are here.
So basically I need to copy the code from that page, insert it into my page to replace the current "form" html command, and make sure that the correct email address is listed in the form. I also need to make sure that my email address is added to the access list for the form handler script (it is).
The form will still look the same, the only difference is, that when you submit it, the results will be sent to my email.
Here's what the htmls like:
<!-- This line selects the destination for the form post -->
<form METHOD="post" ACTION="http://www.brandx.net/cgi-bin/mailto">
<!-- The followup page will be thanks.html--> <INPUT TYPE="hidden" NAME="followup-page" VALUE="http://www.brandx.net/lacc/caot112/turtles/thanks.html"><!-- The recipient will be xxxx@brandx.net. --> <INPUT TYPE="hidden" NAME="recipient" VALUE="jimp@brandx.net"><input type="hidden" name="version" size=50 value="August 28, 1995">
The form shows those hidden fields as little yellow symbols.

The form will work now, but you have to view it in Internet Explorer or Firefox. Save, then click the little "earth" button above your page in Dreamweaver, and it will send your page to Firefox or Explorer for testing. Check your email and make sure the results come through.
In my example page, I went ahead and added a few other fields and some notes on how to make it work.
I'm going to make a really simple layout for my form. I'm going to have the labels on one side of the page, and the entry values on the other. I'm going to make it so the entry form has a border of 1, so we can see the boxes of the form.
Review the section on table layouts to see how this works.
At this point, I think I have done everything that is required to finish my final project.
I've got everything on the list (I think). It's worth taking some time to double check.
Now, I can go back and make the site look nice and fill out the content.